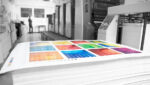
Companies use booklets for all sorts of purposes, from training materials to marketing tools. Booklet printing can be quite expensive, especially if you’re planning a bulk run, so it’s essential to get everything in order before sending your design off to the printer.
Printing on paper is significantly different from publishing material online, and comes with its own set of challenges. While you can always ask your reliable printing company to help you with your booklet design, it’s often cheaper and simpler to learn the process yourself. It can seem intimidating at the start, but our guide should point you in the right direction with a printing checklist to get you started.
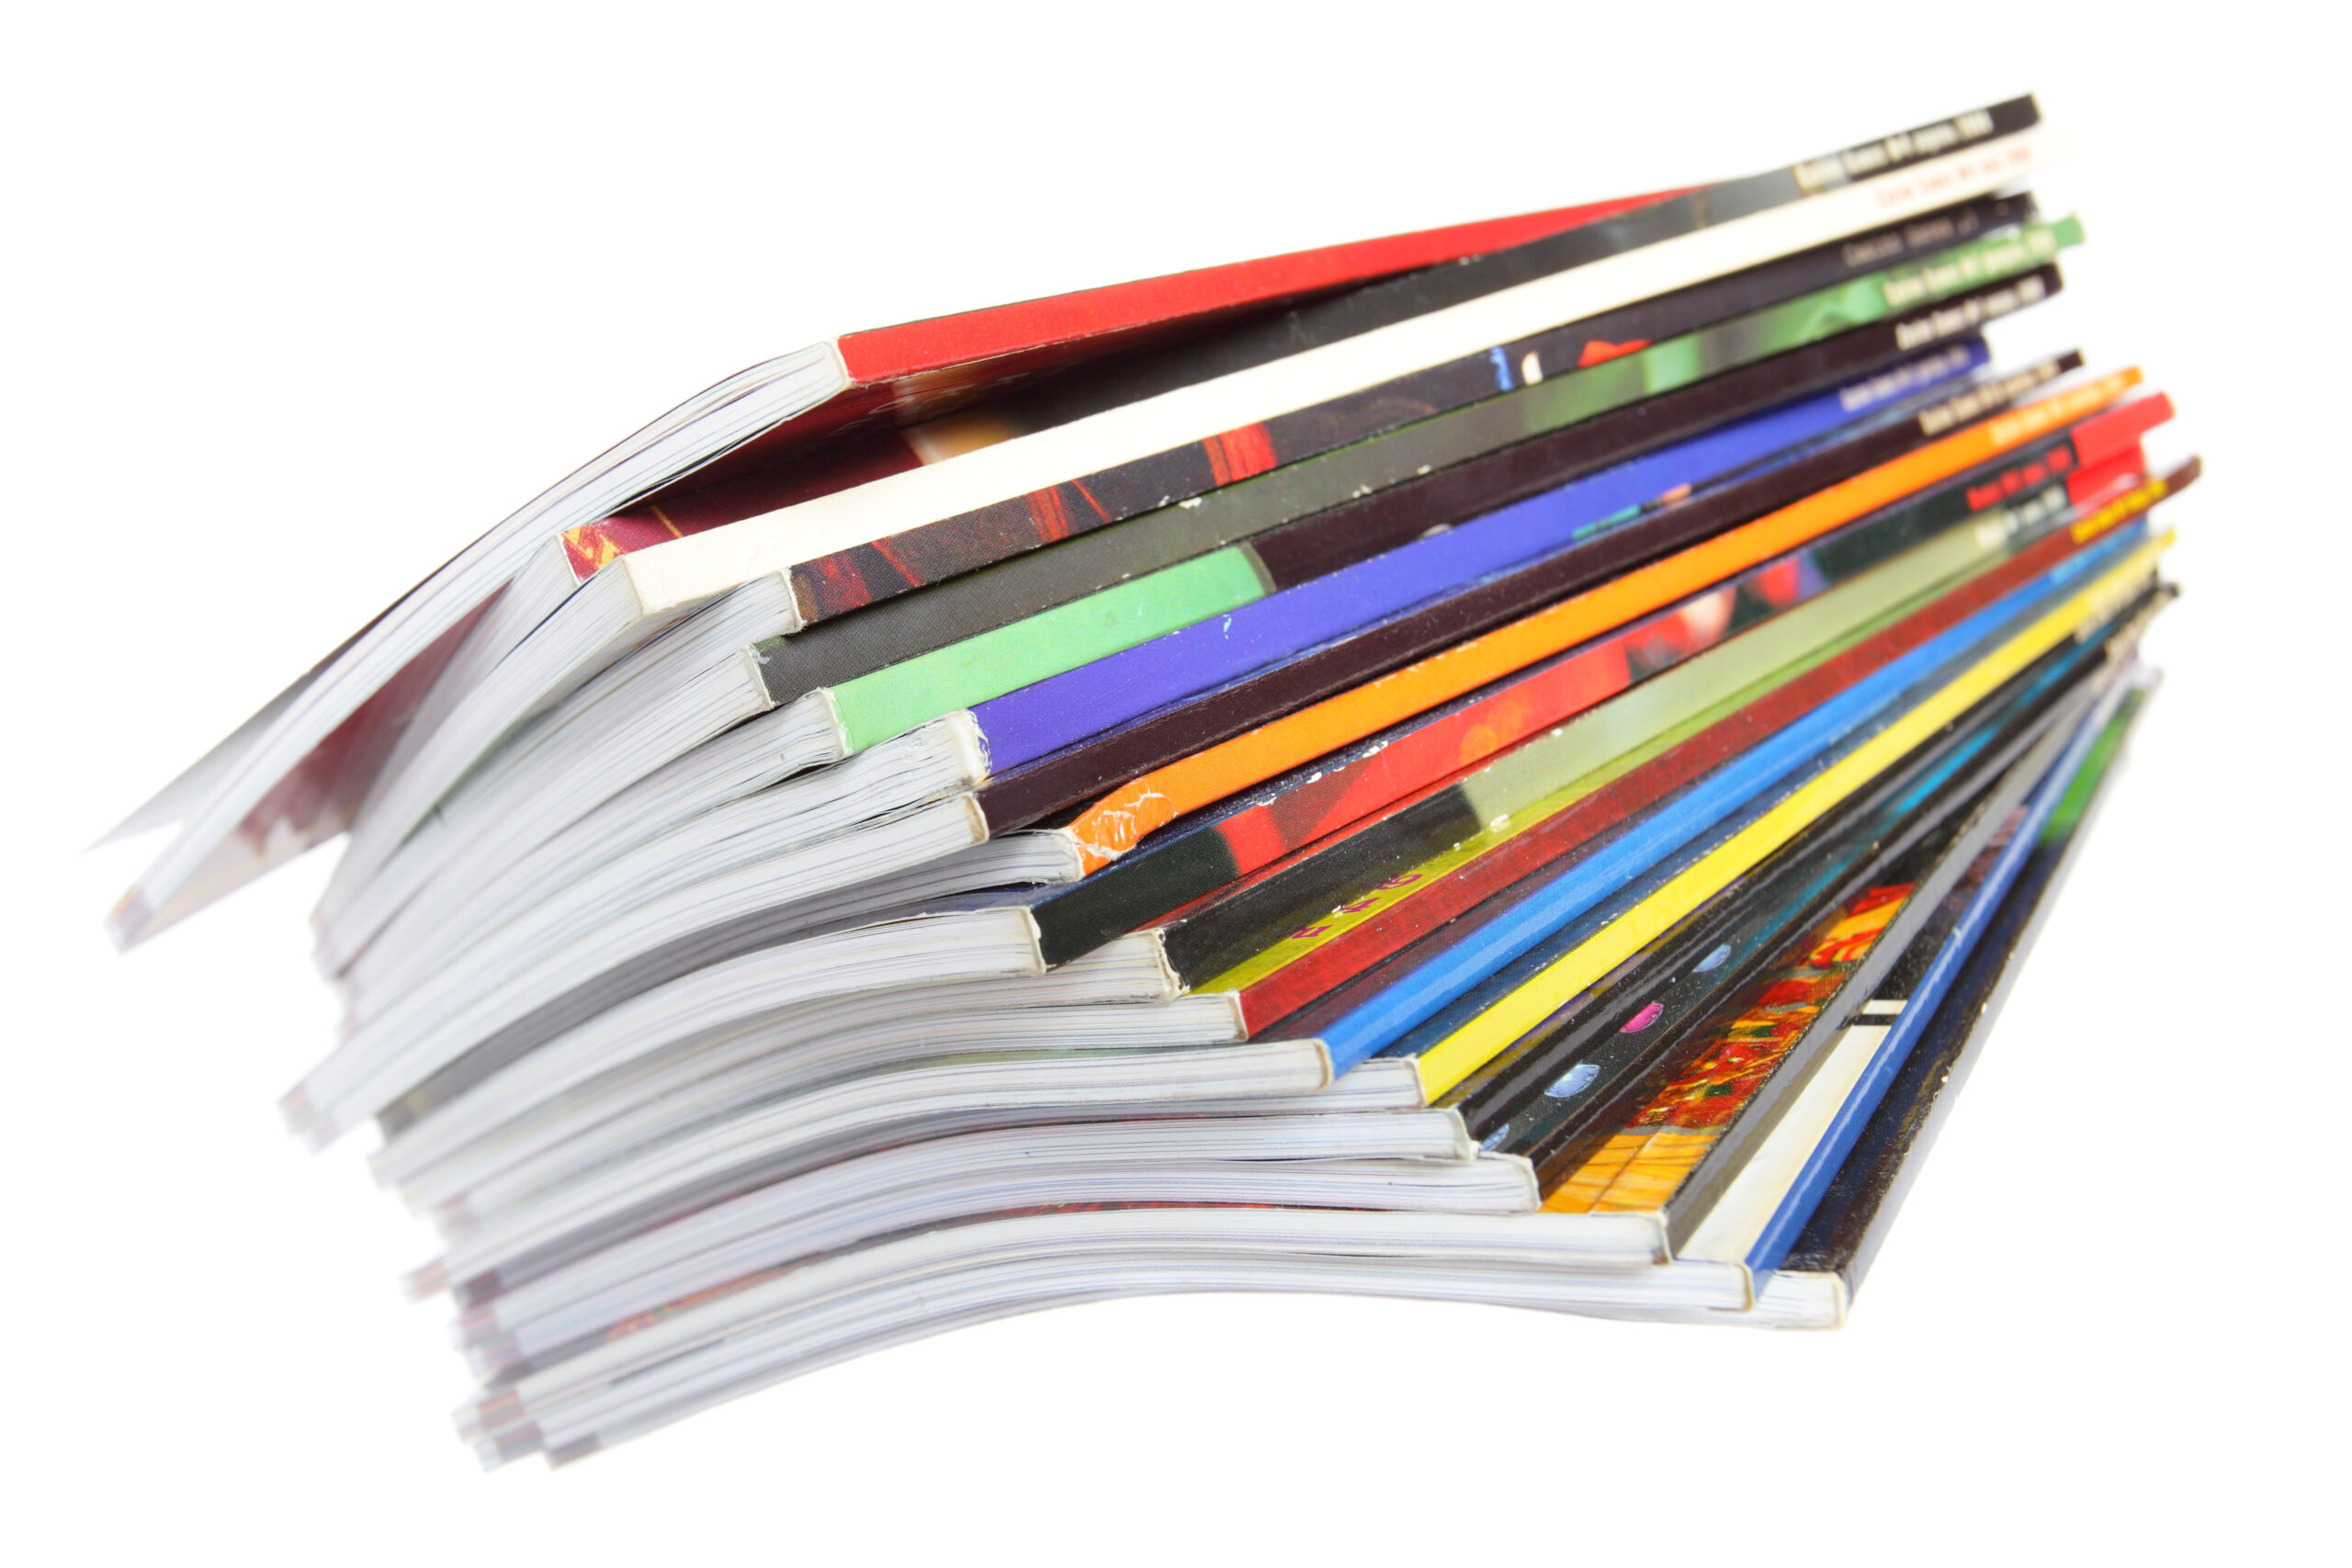
Choose Your Paper
The type of paper you choose can have a significant impact on the impression that your booklet makes. Paper types vary in looks, texture, and finish. The kind of paper you choose can even affect how bright and crisp your graphics look, so spend some time examining different paper types before making a final decision.
The three main paper types used in booklet printing are:
- Gloss: gloss paper has a shiny finish, which works very well for high-resolution photos. It makes colors more vivid and provides a premium feel to the end product.
- Silk/matte: silk is less shiny than gloss paper, but it still offers a premium texture and smooth finish. It’s the default recommendation for booklets as it provides reliable results for most products. Since it’s less shiny, it’s perfect for text-heavy pages, which can be challenging to read when printed on gloss paper.
- Uncoated: uncoated paper doesn’t have any coating, which means that ink seeps into the paper more, producing a slightly duller look. Uncoated paper is an excellent choice if you’re printing higher value items like invitations or letterhead. It’s also a great type of paper to write on, making it ideal for training booklets, journals, and reply cards.
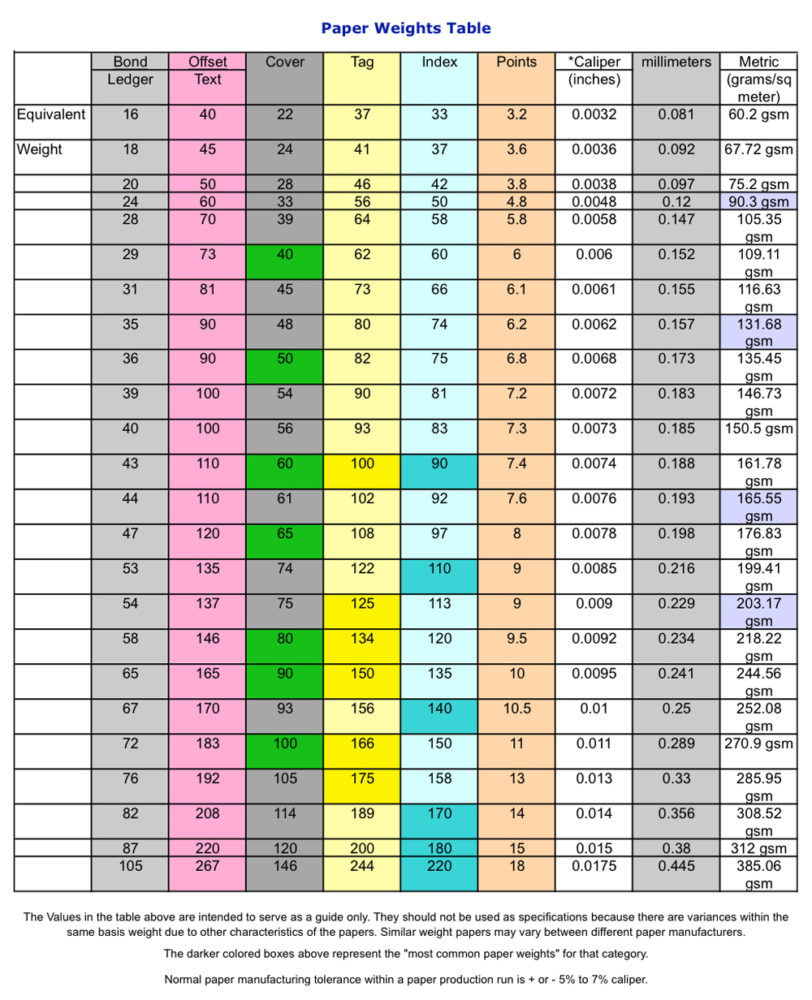
Once you’ve decided on your paper type, you should also consider the thickness. Thicker paper offers a more luxurious feel but is also stiffer and more difficult to work with, especially for interior pages. Paper thickness can be confusing because there are several ways used to describe how thick a piece of paper is. Below is an explanation of the two most common methods. There are other ways to measure paper (Caliper, Points, etc.) but understanding just these two methods will enable you to communicate effectively with your commercial printer.
- GSM (Grams Per Square Meter) – this standard is becoming more universally used around the world as it more accurately describes the paper thickness regardless of the length or width of a given piece of paper. Measuring paper weight in grams per square meter is literally measuring the weight in grams of 1 square meter of paper. As an example, a business card might be printed on a 400 GSM paper stock where as a brochure might be printed on a 150 GSM paper stock. Basically, the larger the number the thicker the paper will be.
- Basis Weight – This method of a describing the thickness of paper is used mostly in the US. The basis weight equals the ream (500 sheet) weight of the base size, hence the term basis weight. It can be confusing thought as each grade of paper (text, cover, bond, index) can have the same basis weight. For example, you can have an 80# text weight and an 80# cover weight and those two papers are not at all the same thickness. See the conversion chart below and notice that the most common paper weights are highlighted in the darkest shades.
-
 Choosing Your Cover & Interior Papers for Booklets
When printing a booklet or brochure it’s common to select a somewhat thicker paper for the cover than what’s selected for the interior pages. This is commonly referred to as a “Plus Cover” whereas using the same paper weight for both the cover and interior pages is referred to as a “Self-Cover”. Using a thicker paper type for your cover will help your booklet look and feel more professional.
Should You Laminate or UV Coat Your Cover?
For the most professional look to your booklet you have the option of laminating your covers. While this is typically done more often on a Plus Cover, it can be done on a self-cover also. Lamination adds a layer of protection to the cover pages without influencing their thickness or weight. You can also select several types of laminate such as gloss, satin or luster to suit the look you want.
Gloss laminate works well with gloss paper, giving it an extra shine and tends to make colors pop more. Matte laminate works great with matte paper, ensuring you get a smooth and professional finish.
The second option for coating your covers is UV coating. It’s much less expensive than lamination and while it doesn’t offer quite as much protection, it does help prevent scratches and scuffs and like lamination, it gives the cover a more professional look.
Choose Your Binding
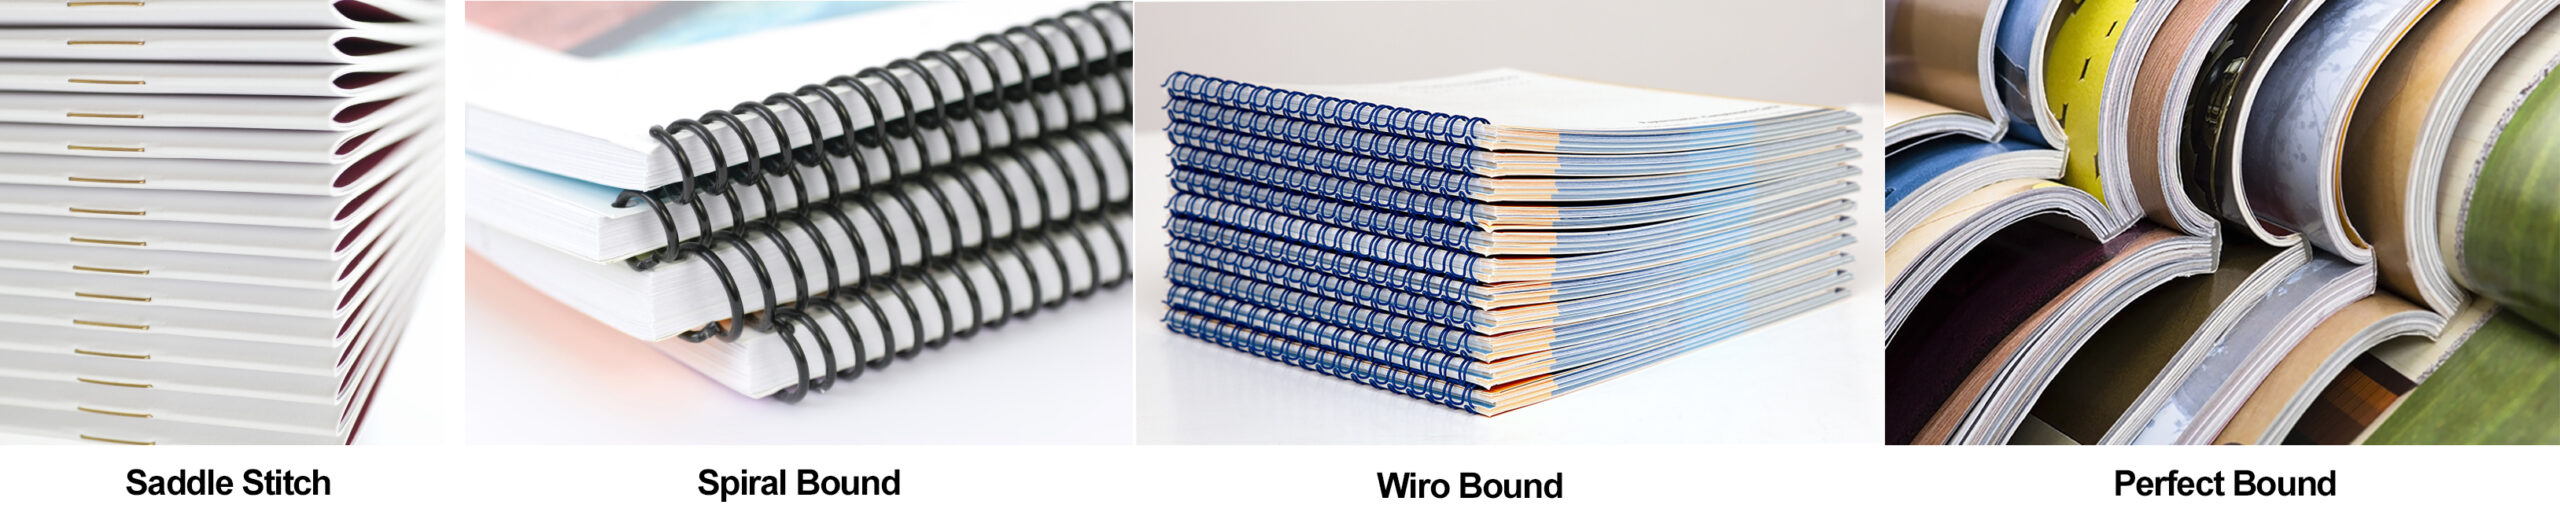
How you choose to bind your booklet is almost as important as the type of paper you use. There are three main types of binding for booklets, each with their advantages and disadvantages:
- Staple-bound: staple binding, also known as saddle stitching, is an affordable way to bind relatively thin booklets. It uses two staples in the middle of the booklet to hold the pages together. Workbooks and comics often use staple binding since booklets bound with this method will stay open, which makes them easy to browse through and read.
- Spiral-bound: a continuous loop of plastic coil winds through holes on the side of the paper, holding the entire booklet together. This type of binding isn’t common in commercial applications and tends to be limited to workbooks and technical manuals.
- Wiro-bound: similar to spiral bound but uses a preformed wire comb with fingers that insert into holes along the side of the paper. Also called twin loop or simply wire binding
- Perfect bound: a perfect bound booklet is held together by glue, which binds the inside sheets to the cover. The most common example of perfect binding is a book. It’s a more expensive method than staple binding and also requires a minimum number of pages to keep it properly bound.
-
Prepare Your Print File
Once you’ve decided on the physical aspects of your booklet, you need to make sure that your file is ready for printing. Modern digital printing techniques are incredibly accurate, but having a small margin of error can prevent disappointment at the end of the project.
When preparing your file for print, keep the following factors in mind:
- Size: try to stick to standard 8.5×11 sizing for your booklet if possible, custom sizing can affect the cost and possibly the turnaround time for your project.
- Trim line: this line denotes where the cutting blade will slice your booklet into its desired finished size. To prevent mistakes during cutting, add a bleed area of 3mm outside of your trim line. This bleed area should still fit in with your design unless you want a thin white line at the edge of the page.
- Quiet area: try to avoid having any large or important design elements within 5mm of the trim line. The quiet area will ensure your design is clean, while also preventing cutting mistakes from affecting important text or images. The size of the quiet area will depend on the type of binding you’ve chosen.
- Adjust for CYMK: modern printing equipment uses a CMYK color model which is different color model than a graphic that is created primarily for use on a computer monitor (RGB). Most graphic design programs will be able to convert your RGB scale into CYMK for you.
Getting your digital designs into a printed product can be a scary process. But by understanding a few key printing processes, you can ensure great results every time. Feel free to download our free ebook which has more in-depth explanations of printing terms and definitions. If you’re still uncertain about booklet printing, don’t hesitate to contact us for printing tips. We’re always happy to help people achieve high-quality prints.